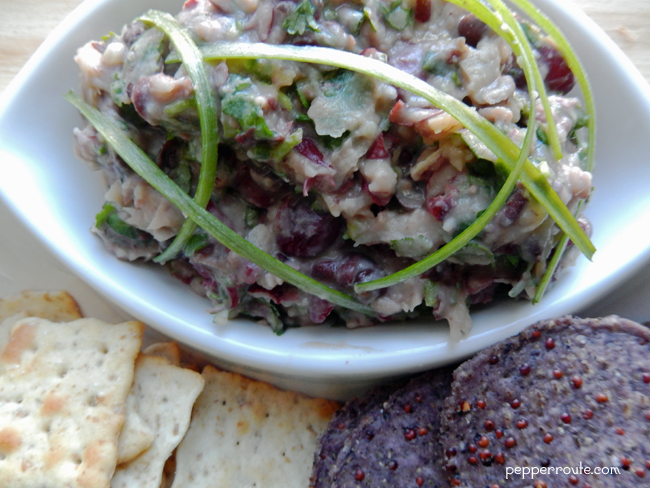
Warm Three Bean Dip
Though the name refers to a dip, this actually is not a dip. The only apt word I can think of is ‘scoop’. Instead of dipping your chip into something, you are scooping something with your chip. You get the idea!

Beans are one of the most ancient crops consumed by human beings. Historical evidence points to its consumption in regions widespread in Asia and South America, starting 7th millennium BC. Actual cultivation started later in the 2nd millennium BC. Today, it must be one of the most common staples present in all cuisines around the world.
Strictly speaking, beans like fava beans (broad beans) belonging to a particular species can be called ‘beans’, but in modern usage, the word has become a synonym for pulses or legumes as well. Then there are other thing being called ‘beans’ though they are in no way connected to the actual beans. Examples are coffee bean, vanilla bean, coco bean, etc.
The beans’ claim to fame is that it is the chief food item that meets the protein requirements of vegetarians. According to nutrition experts, beans are comparable to meat in terms of calories, but far superior when it comes to fiber and water content. One cup of cooked beans provides about 12 grams of fiber, while meat has none. In addition, beans are high in antioxidants, and are good for digestive tract health.

Instead of the particular varieties of beans used here, you can choose any of your liking.

The molcajete goes well with the ancient crop of beans as it is also an ancient tool. It was in use during the times of the Aztec and Maya cultures. It is carved out of a single block of basalt stone. Comes in very handy in the kitchen.
Despite all the good it does, beans have this unfortunate blemish on its reputation due to its tendency to produce flatulence, giving rise to numerous stories and jokes. Soaking in water to which a pinch of baking soda has been added, or cooking with spices like coriander and cumin are supposed to overcome this problem. Again, in my opinion, moderate quantities will not cause any such problems.

The dip or scoop is served best with sturdy tortilla chips. And, if you like to spice it up a bit, try it with pieces of pickled jalapeno on the side… truly kicks it up a notch. A quick lunch or a snack, with hardly any effort!
~Ria

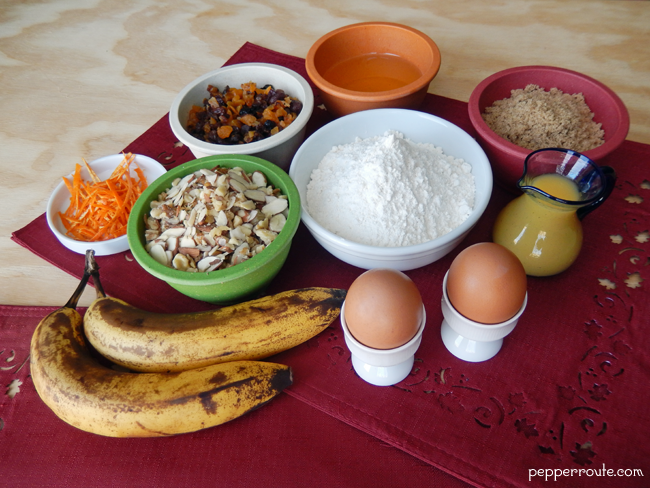
- 1 cup butter beans
- 1 cup red kidney beans
- 1 cup black beans
- 2 cloves garlic
- 1 tbsp olive oil
- 1 lime
- 1 bunch (4 or 5) scallions
- 1 bunch cilantro leaves
- If using the cans of already cooked beans, drain and wash the beans. If using dry beans, soak them for 6 hours ahead of time and boil them.
- Thinly slice the scallions and cilantro leaves.
- Juice the lemon.
- Using a molcajete (traditional grinding stone from Mexico), crush the garlic cloves. If you do not have a molcajete, you can use any other means for the crushing.
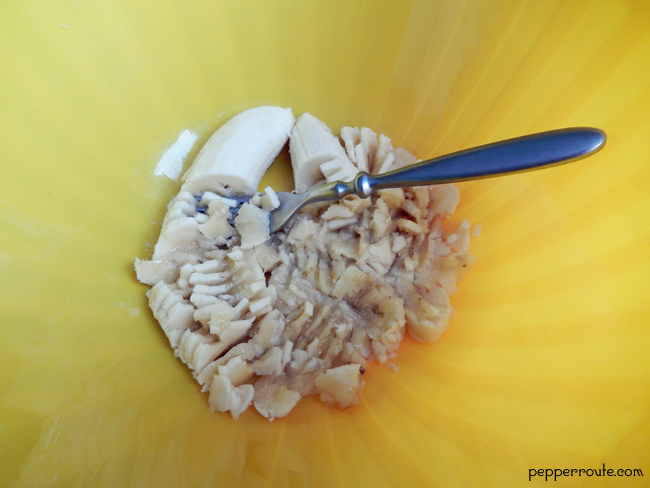
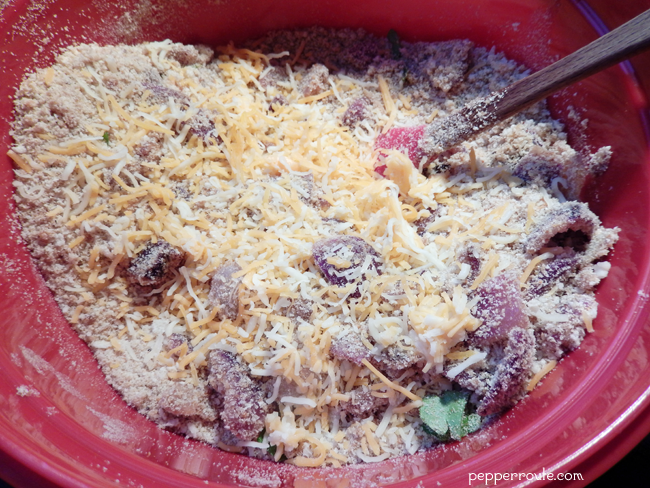
- Add the three beans and crush them, along with the garlic. It is not necessary to make each bean into a paste; a rough crushing will do. It is good to leave a few whole beans uncrushed.
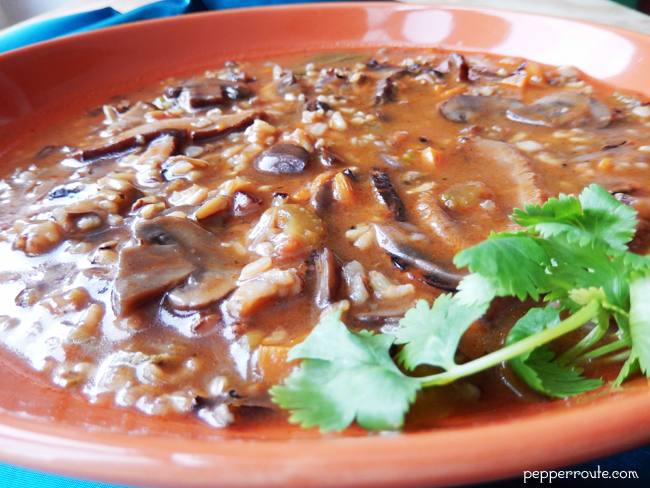
- Scoop out the crushed beans into a serving dish.
- Add the olive oil, lime juice, and salt, and mix well.
- Add the sliced scallions and cilantro and blend in.
- Keep aside for 30 minutes at room temperature for the flavours to meld.
- Serve with tortilla chips and crackers to scoop.