Cakes

Pumpkin Orange Cake

October is pumpkin season. Starting with the green pumpkins which are great in soups and stews, we go on to enjoy the ripe pumpkin in pasta sauce, cheese cake, ice cream and a lot more. And the month ends with the large bright orange pumpkins that get carved into lanterns for Halloween. BTW, it is great fun to set about carving a pumpkin… if you haven’t tried it, you should.

 
POC-closeup1

Okay, so we were talking about it being pumpkin season now. These days we find so many products that are pumpkin flavoured. Pumpkin bread, pumpkin cookies, pumpkin syrup, pumpkin butter, pumpkin ales… the list goes on. We have come a long way from the traditional pumpkin pie, the staple at the Thanksgiving table.

 
POC-done1

Pumpkin flavour in food items originated with the pumpkin spiced coffee, first introduced by Starbucks, which has become a regular item at any coffee place during the season. From there, its popularity has grown greatly over the recent years. According to the US Department of Agriculture, pumpkin sales have gone up by 34% in the last years alone!

 
POC-closeup2

Keeping with the spirit of the season, this pumpkin orange cake brings on the goodness of pumpkins, combined with an orangey sweetness. Preserved pumpkin is the base of this cake.

 
POC-pumpkin-preserve

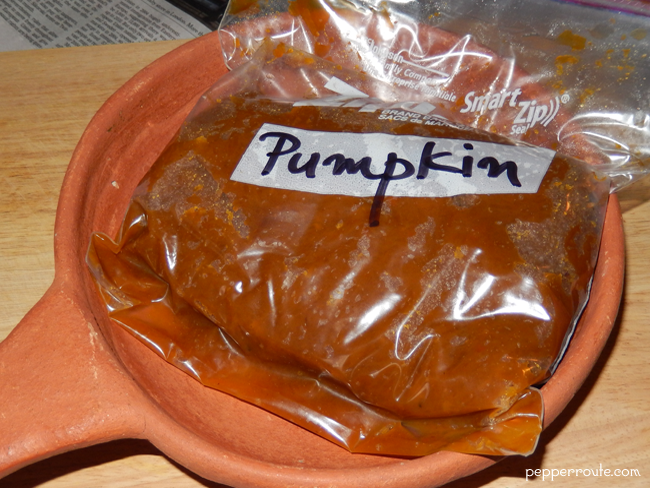
The preserve is prepared from the smallish sugar pumpkins during the pumpkin season and frozen, for use throughout the year. Cut the pumpkin into four pieces, remove all the goop from inside and roast in the oven till soft. Scrape out the flesh and cook it down, in a pan, with a bit of brown sugar. The pumpkin preserve is ready. It is great for making pies, cookies, cakes and brownies, all pumpkin flavoured. 🙂

 
POC-cake-ingredients

To make the cake, in addition to the basic cake ingredients, you use cinnamon, nutmeg and ginger to add some zest. Rest of it is very routine.

 
POC-initial-mixing

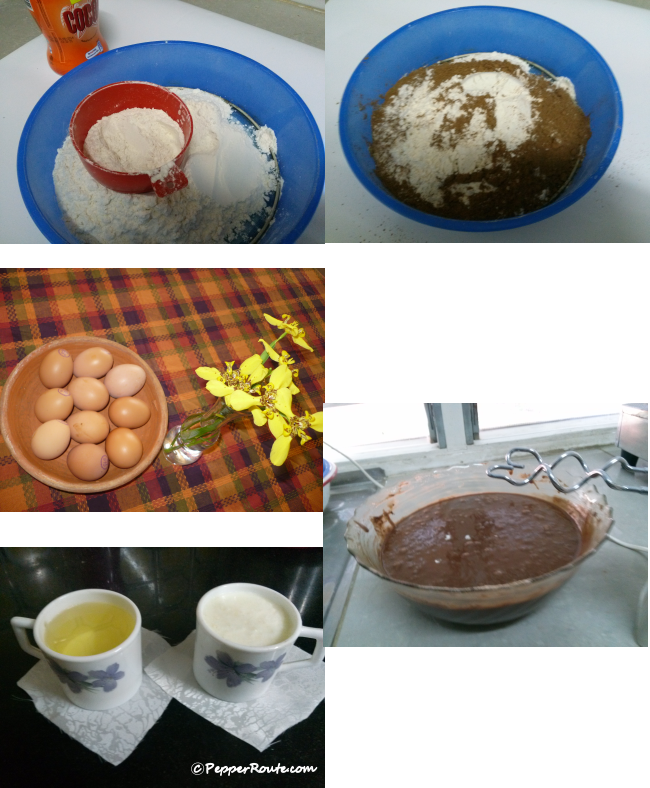
Beat together butter, egg, and the wet flavours.

 
POC-mixing-pumpkin

Add the pumpkin preserve and mix well.

 
POC-pumpkin-mixed

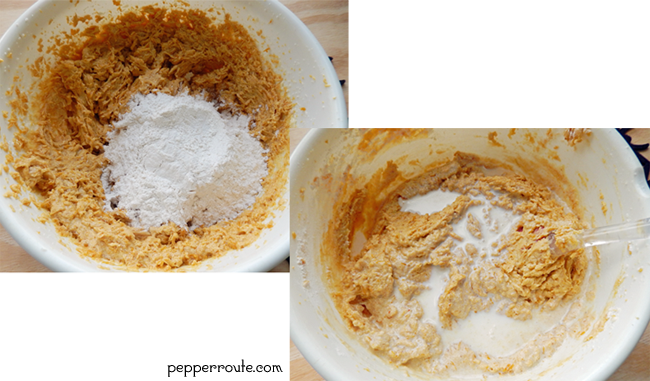
Mix together the dry ingredients.

 
POC-flour-mix

Add the dry ingredients to the wet, alternating with the milk.

 
POC-flour-milk-mixing

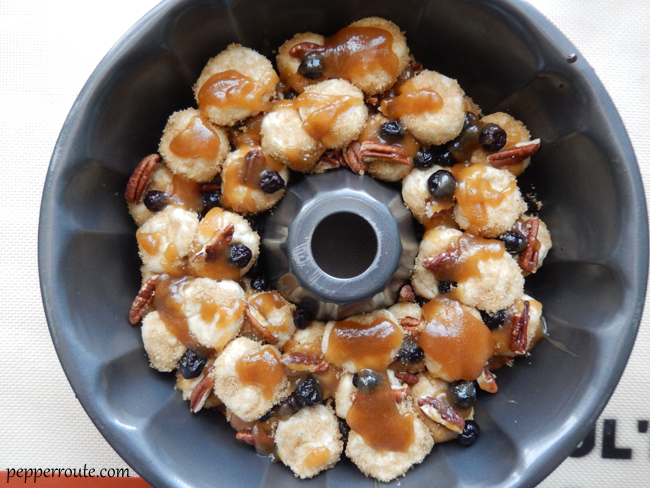
You can use either a 11 inch cake pan or multiple smaller baking dishes. I had these bakery type paper cake pans which worked perfect!

 
POC-ready-to-bake

You have to allow the cake to cool on a wire rack, before applying the frosting.

 
POC-just-baked

To prepare the frosting, thoroughly mix the ingredients together.

 
POC-frosting

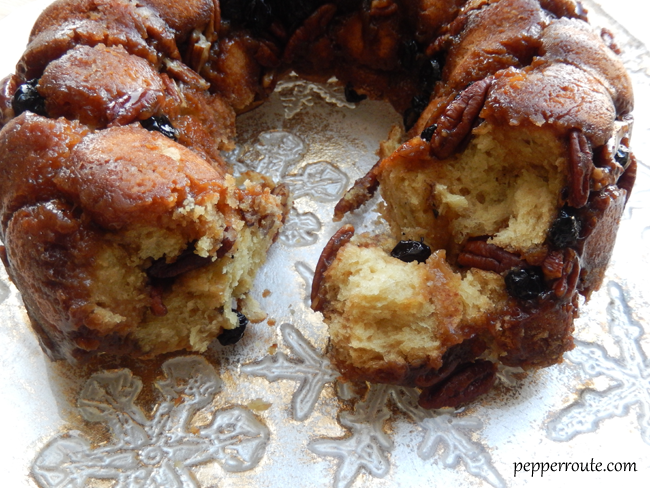
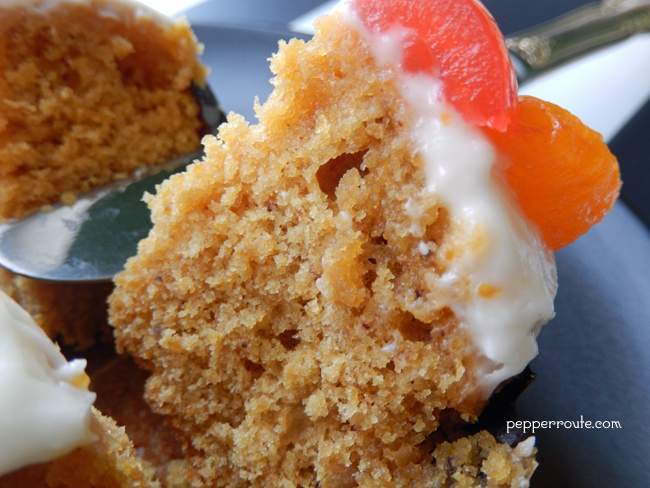
Decorate with orange segments (either from a fresh orange or a can) and a glazed cherry, and the beautiful cake is ready!

 
POC-done2

BTW, pumpkin seed oil is the latest beauty product to arrive on the fashion scene. Don’t know whether it will be good for cooking!

~Ria


Pumpkin Orange Cake
Ingredients
  • ½ cup butter, at room temperature
  • ½ cup granulated sugar
  • 1 cup concentrated pumpkin preserve
  • 1 large egg
  • ¼ tsp finely minced ginger
  • ½ tsp vanilla extract
  • 2 ½ cups all purpose flour
  • 1 tsp baking soda
  • ½ tsp baking powder
  • ½ tsp salt
  • ½ tsp ground cinnamon
  • ¼ tsp ground nutmeg
  • 1 cup milk
  • powdered sugar
  • ¾ cup cream cheese, softened
  • 2 tsp orange zest
  • Orange segments (fresh or canned) and glazed cherries for garnish
Directions
  1. Preheat oven to 350°.
  2. Using an electric hand-held mixer, beat the butter and granulated sugar together, till fluffy.
  3. Add the egg, vanilla and ginger and mix well.
  4. Add the pumpkin preserve and thoroughly beat into the mix.
  5. In a bowl, mix together the flour, baking soda, baking powder, salt, cinnamon, and nutmeg.
  6. Add the flour mixture into the beaten butter-sugar mix, in batches, alternating with milk, beginning and ending with flour mixture.
  7. Prepare cake pans by buttering them. You can either use an 11 inch pan or smaller pans.
  8. Spoon the batter into the prepared pans till ¾ full.
  9. Place in the middle rack of the pre-heated oven and bake for 30 minutes or until a wooden skewer inserted in the center of the cake comes out clean.
  10. Cool on a wire rack for 20 minutes.
  11. Meanwhile, to make the frosting, beat the cream cheese till smooth.
  12. Add the powdered sugar and orange zest and mix well, till fluffy.
  13. Apply the frosting to the top of the now cool cake, and decorate with orange segments and glazed cherries. Lovely to look at, and tasty to eat!

Monkey Bread with Pecans and Blueberries

Time to put away the utensils and dig in with your bare fingers! Yes, it is Monkey Bread time!

 
MB-closeup
A cluster of warm, sweet, delicious pieces of bread, baked usually in a ring shape in a bundt pan… and you pull apart these pieces just like a monkey! Hence the name, monkey bread.

 
MB-done1
Somewhere along my peregrinations over the alleyways of the cyberspace, I came across the name, ‘monkey bread’. And without a second thought, I knew I had to make it, I had to eat it. It was just hours from thought to action, and here we are with a lovely, gooey, fragrant monkey bread! 🙂

 
MB-mid-view1
There are various theories about how it got its name… its resemblance to the fruit of the monkey puzzle tree, the monkeying around you have to do to make the dish (absolute pish-posh; it is an easy dish to make), and my favourite… one can channel one’s inner monkey while eating it!

 
MB-mid-view2
Monkey bread does not have a long tradition on the food scene, the first mention of it appearing in cookbooks and magazines in the 1950s, according to the foodtimeline. Nancy Reagan used to serve it at the white house, during the Christmas season.

 
MB-ingredients
Many of the traditional recipes use yeast in the monkey bread dough, which in my opinion is a lot of time wasted, waiting for the yeast to act. Instead, you could use a combo of buttermilk and baking powder to get the same buoyancy.

 
MB-butter-into-dough
You prepare the dough, cutting in the butter and then adding the buttermilk.

 
MB-dough-cutting
The dough is divided into small pieces and rolled in brown sugar.

 
MB-dough-in-sugar
These are then layered at the bottom of the pan along with nuts and dried fruits.

 
MB-pan-first-layer
And if you want a really short shortcut, you could use the biscuit dough that comes in a tube instead of making your own dough.

 
MB-pan-last-layer
The pecans and blueberries used in the recipe can be replaced with any nuts and dry fruits.

 
MB-nut-fruit
The giant baobab tree (of ‘The Little Prince’ fame) is called ‘monkey fruit tree’ in Africa. And the insides of that fruit looks very much like monkey bread. Do take a look


~Ria


Monkey Bread with Pecans and Blueberries
 
Author: 
Recipe type: Snack
A 8 or 9 inch bundt pan works well for baking this monkey bread.
Ingredients
  • 4 cups all purpose flour
  • 3 tsps baking powder
  • 1 tsp baking soda
  • 1 tsp salt
  • ¾ cup butter
  • 1 cup buttermilk
  • ½ cup pecans (can be replaced with walnuts)
  • ½ cup dried blueberries (can be any dried fruit)
  • ½ cup brown sugar
  • 1 tsp of cinnamon powder
  • ½ tsp nutmeg powder
  • 1 ½ cup brown sugar
  • ¾ cup butter
Directions
  1. Soak the blueberries in one cup of warm water for 30 minutes. Drain and keep aside.
  2. Lightly toast the pecans. Let cool and keep aside.
  3. Mix half a cup of brown sugar with the cinnamon and spread flat on a platter.
  4. Melt together 1 ½ cup brown sugar and ¾ cup butter. When fully melted, remove from heat.
  5. Pour a quarter of the butter-sugar mix into the bundt pan and swirl around to coat the bottom. Keep aside.
  6. Pre-heat the oven to 350 degrees farenheit.
  7. In a large bowl, mix together the flour, baking powder, baking soda, and salt. Cut in ¾ cup of butter into the flour. Add the buttermilk and mix into a smooth dough.
  8. On a floured surface, roll the dough into a log and cut into three pieces.
  9. Take one of the pieces and roll it into a longish rope.
  10. Cut the rope shaped dough into uniform sized pieces, about 1 inch in diameter.
  11. Shape each piece of dough into a rough ball and roll in the brown sugar-cinnamon mix to coat.
  12. Place the round shapes at the bottom of the bundt pan in a single layer.
  13. Sprinkle half the pecans and blueberries over the dough.
  14. Spoon a quarter of the butter-sugar mix evenly over the layers in the bundt pan.
  15. Repeat the process with the remaining two portions of dough, interspersing with layers of pecans, blueberries and butter-sugar mix.
  16. When all the dough is used up, pour the remaining butter-sugar mix on the top.
  17. Place in the center of the oven and bake for 30 to 35 minutes.
  18. When done, remove from the oven and allow to cool for 5 minutes.
  19. Invert on to a serving platter and serve warm.


Vanilla sponge cake with chocolate frosting

Although I make frosted cakes occasionally, birthday cakes are not really my forte. So when I had to get a birthday cake for my friend’s son, I decided to improve my skills and make one myself. It had been a long while since I last made a birthday cake, the last one I remember baking was a three layer cake for my daughter’s birthday a few years ago.

P1 VSC

The birthday boy’s craze was strawberry this season. So I decided to make a two layer vanilla sponge with white butter icing and lots and lots of fresh strawberries. Since the tastes and preferences of 8 year olds are prone to changes, I wasn’t surprised that he changed his mind and opted for a chocolate cake instead. But I had already baked the vanilla sponge when I came to know about his new preference. So the initial plan of white butter icing was changed to chocolate frosting. I made this cake when I was in Kerala and the summer was at its peak with almost unbearable levels of heat and humidity. I could only do the frosting at night and still had to make many trips to the refrigerator to keep chilling the icing and cake before I could finish frosting the cake.

P2 VSC

For the vanilla cake I used a mixture of 2 ¼ cups of all purpose flour and 6 tablespoons of corn flour. This makes the cake very soft. Since the frosting adds to the sweetness of the cake, the quantity of sugar mentioned in the recipe can be reduced by ¼-½ cup. The quantity of ingredients mentioned is enough to make two 9 inch cakes. I used the creaming method for this cake. Butter and sugar are beaten together till it becomes creamy and light. Then the eggs are added one at a time and beaten well. While making cakes the flavouring agent (vanilla essence, in this case) should always follow the eggs to get rid of any odour of the eggs.  Then the sifted flour and baking powder mixture is added in small batches alternating with milk and beaten well.

P3 VSC

P4 VSC

For the chocolate frosting I used milk chocolate as the cake was for an eight year old but dark or semi-sweet chocolate could also be used instead.  I had to make sure the frosting gets a smooth spreadable consistency. The consistency of the frosting is very important which can be adjusted by the addition of more milk. If the frosting is too thick, spreading it will be difficult and will also tear the cake and if it’s too thin it will run. If the cake is too soft to handle leave it in the freezer for 30 minutes before frosting. To avoid any mess around the cake while assembling on the serving plate insert narrow strips of aluminium foil under the cake on all four sides. Once the frosting is done these foil strips can be carefully pulled off.

P5 VSC

I certainly needed a shot of caffeine after the hard work.

P6 VSC

~Min

Vanilla sponge cake with chocolate frosting
 
Author: 
Recipe type: Cake
Ingredients
  • For the cake
  • All purpose flour 2 ¼ cup
  • Corn flour 6 tbsp
  • Baking powder 1 tbsp
  • Strawberry fruit flakes ¼ cup (optional)
  • Sugar (powdered) 1 ¾ - 2 cups
  • Unsalted butter 1 cup @ room temperature
  • Eggs 4
  • Pure Vanilla Essence2 tsp
  • Milk 1 cup
  • For the frosting
  • Chocolate 1 cup (broken into pieces)
  • Butter 1 cup (at room temperature)
  • Icing sugar 4 cups
  • Milk 2-4 tbsp (use as needed)
Directions
  1. Cake
  2. Preheat the oven at 180 degree Celsius / 350 Fahrenheit for 10 minutes.
  3. Prepare the pans by buttering and flouring two 9 inch cake pans. Lining the bottom of the pans with butter paper/ parchment really helps in releasing the cakes from the pans once done.
  4. Sift the flours and baking powder together.
  5. Cream butter and sugar using an electric beater or wire whisk.
  6. Add eggs one at a time and beat well. Once the eggs are incorporated add vanilla essence.
  7. Now add the flour and milk in small batches and mix well.
  8. Divide the batter equally between the two prepared tins and bake in the oven for 25 – 30 minutes or till a cocktail stick inserted comes out clean.
  9. Leave the cakes in the pan for 10 minutes to cool. Remove from the pan and cool it on a wire rack.
  10. Frosting
  11. Melt the chocolate pieces by keeping it in a bowl over simmering water and stir well.
  12. Once it’s almost melt remove from the heat and let it cool completely.
  13. Beat butter and icing sugar together till creamy.
  14. Add the melted chocolate and mix well.
  15. Add milk little by little till it reaches the required spreadable consistency.
  16. Assembling
  17. Place one cake on the serving plate and spread some frosting uniformly on the cake.
  18. Place the second cake on top of the frosting (with the bottom side facing up) .
  19. Now cover the cake with the remaining frosting.
  20. Pipe a border around the top edge of the cake and decorate with slices of strawberries and silver balls or whatever you fancy.

No Fail Chocolate Cake

 P1f CC

I always love to make this chocolate cake because it’s so simple and it turns out right every time. I’ve been making this cake for years but I definitely made it the most when my girls were still in school, a few years ago. They had the annoying habit of remembering quite late on the night before that they had to bring something in for a bake sale the next day. So I would make my no fail chocolate cake late at night before bed or early in the morning just before leaving for school as it can be made without much planning as the ingredients used are store cupboard staples.

P2CC

Though this cake can be made with minimal effort and limited time, it doesn’t compromise on taste – it’s soft, light and just so yummy! Another plus is that since refined oil is used instead of butter, the cake will stay soft even if it’s been refrigerated.

P3CC

An orange glaze on this otherwise simple cake lifts it up a notch. Adding a tablespoon of finely grated orange zest to the cake batter can also complement the glaze quite well. The glaze is simple enough to make: just mix a quarter of a cup of icing sugar or powdered sugar into half a cup of orange juice. If the glaze seems too watery, a bit more icing sugar will do the trick. I also add a couple of teaspoons of orange liqueur to the glaze if it’s not a cake destined for a bake sale 🙂

Served with a dollop of orange cream cheese or a scoop of ice cream, this is perfection.

P4CC

Orange cream cheese can be made by mixing a quarter of a cup of cream cheese with 2 tablespoons of sugar, 1 tablespoon of freshly squeezed orange juice and 1 teaspoon of finely grated orange zest.

No Fail Chocolate Cake
 
Author: 
Cuisine: Cakes
Ingredients
  • Unsweetened cocoa ¾ cup
  • All purpose flour 2 ¼ cup
  • Sugar 1 ¾ cup
  • Yoghurt1 ½ cup
  • Vegetable oil 1 cup
  • Baking soda 2 teaspoons
  • Vanilla essence 1 ½ teaspoons
  • Eggs 3 large
Directions
  1. Preheat oven to 180°C or 350° F.
  2. Grease a 9” round tin.
  3. Sift the flour with cocoa and baking soda twice.
  4. Combine all the wet ingredients including eggs well with an electric mixer.
  5. Add flour in small batches and blend well with mixer at slow speed.
  6. Increase speed to medium and beat for 3 minutes.
  7. Bake for 30 minutes. Check whether it is done by inserting a tooth pick into the cake and ensuring it comes back clean.
  8. Once cooked, remove from the oven onto a wire rack.
  9. Cool for 10 minutes and remove cake from the tin.

~Min