W is for Welsh Rarebit
A slice of hearty bread topped with a spicy cheese sauce and grilled… that is Welsh rarebit, a comfort food if any dish can be called that. Served hot, it is one step (or many steps) above the grilled cheese sandwich of our daily lives.
As the name signifies, it has its origin in Wales, among the peasants who often substituted cheese for meat as meat was too expensive. An earlier version named ‘caws pobi’ (meaning toasted cheese) can be traced back to medieval and Tudor times, at least since the 1500s. Before the name Welsh rarebit caught on towards the end of the 18th century, there was a period of time when the dish was called ‘Welsh rabbit’ as seen in a cookbook from the year 1725. Some historians are of the opinion that it was perpetrated as a joke. Anyone remember the Boaty McBoatface episode of a funny name?

Anyways, the dish is popular in many parts of Britain and the rest of the world. It has a place of honor in the Welsh cuisine as one of the earliest traditional dishes of the region, with September 3rd celebrated as the Welsh Rarebit Day.

Though there can be variations in the recipe with more/ less mustard or the inclusion of Worcestershire sauce or cayenne, beer and cheese are the constants. The best cheese for the dish is a sharp cheddar. This is a very easy dish to make, with just a few ingredients and steps to follow.

If an egg is served on top of the toasted bread and cheese sauce, it is called a buck rarebit.
Interesting fact: There is no existing word ‘rarebit’ except in relation to the dish; no noun, no verb, no word at all.


W is for Welsh Rarebit
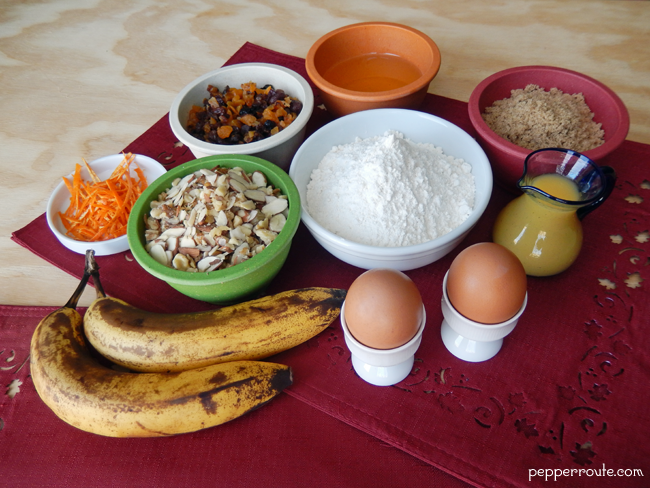
Ingredients
Instructions
- Heat the butter in a pan over medium heat. When the butter has melted, add the flour and stir to combine.
- Continue to cook, stirring, till the flour starts to get brown, about 3 to 4 minutes.
- Add the cayenne to the pan. Give it a quick stir. Take care; cayenne burns very quickly.
- Whisk in the beer using a silicone whisk.
- Add the mustard and Worcestershire sauce. Continue to whisk till the mixture has thickened.
- Turn heat to low, and add the cheese, stirring well until you get a smooth mixture.
- Season with salt and pepper.
- Remove from heat and pour into a flat container to set. The sauce can be stored in the refrigerator for up to a day.
- When ready to prepare the dish, set the rack on the top slot of the oven and pre-heat the oven to broil.
- Lightly toast the bread slices and spread the sauce thickly on the bread slices.
- Place under the pre-heated broiler until the cheese is bubbly and the toast starts to brown.
- Serve hot immediately.