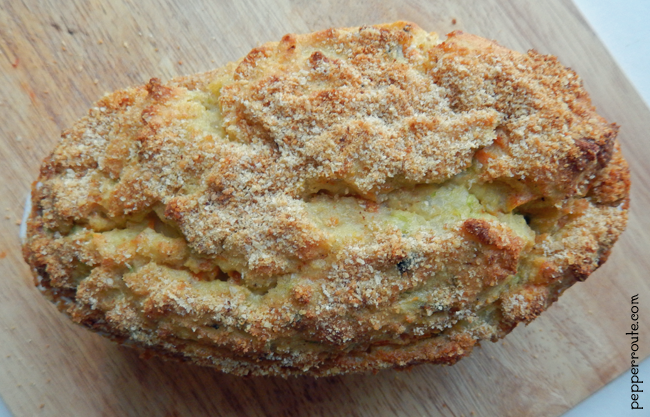
Potato Soufflé
There are certain dishes that form sets and are always prepared together. Like the traditional dishes ‘egg lace’ and ‘marbled egg’. Stuffed potato skins is also a dish that is part of a set, but the good thing is, there are several dishes that you can choose from to form the second part of the set. For example, you can use the potato flesh that is scooped out of the skins to make home fries, a potato salad, potato vadas, or a potato soufflé.
Generally, the word soufflé induces a sort of fear in many people, even those who are confident cooks otherwise. After all, collapsing soufflés, are a regular source of mirth in sitcoms and cartoons. Believe me, it is a fear that can be overcome with the first attempt at a not-so-complex soufflé. And this potato soufflé is the perfect one for that attempt. It is simple enough without too many steps to follow, has very few ingredients, and no fancy ingredients either. So if you haven’t made a soufflé yet, now is the time! 🙂

A soufflé mix basically has two parts… the base and the egg white beaten into soft peaks. The word ‘soufflé’, originally from French, means ‘to blow up’ or ‘puff up’. That is exactly what a soufflé does. It sort of puffs itself up, with the help of the airy egg whites incorporated into the mix.

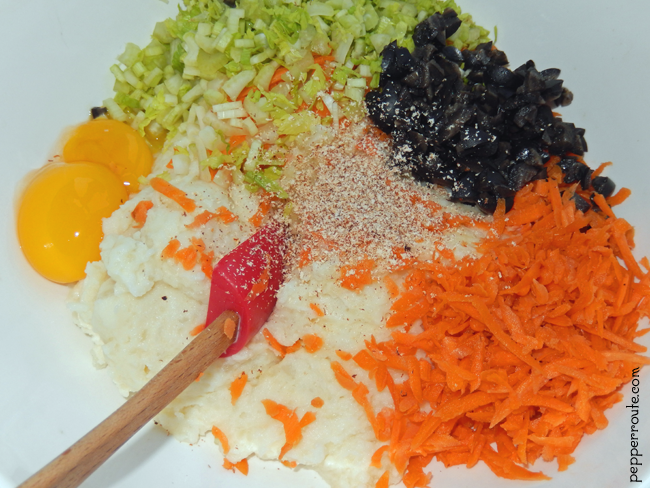
Of course, you have to take care to beat the eggs in an absolutely dry bowl. Also, not get even a trace of the egg yolks into the whites. I have been told (don’t remember when or by whom) that the folding in of the beaten egg whites should be done with a wooden spatula. Don’t know the logic behind that or whether a silicon spatula would not work as well or better… I still follow that advice and use a wooden spatula! 🙂

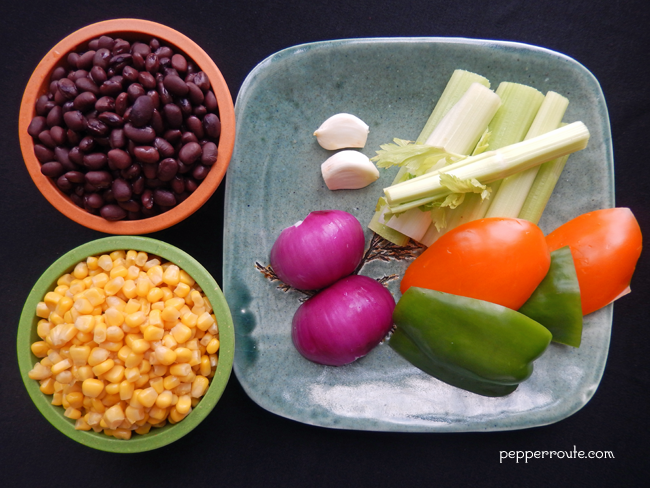
This was designed to be not at all spicy, to focus on the flavor of the potatoes. Celery, carrots and black olives, and a pinch of nutmeg. That’s all. Of course, you can make it quite spicy by adding some minced jalapenos and onions and a pinch of curry powder.
This can be made in a soufflé dish or ramekins. Remember that the bread crumb coating on the inside of the baking dish has to be rather thick. This is what is going to give the soufflé something to adhere to, as it is rising.

So go ahead and start with this simple soufflé. We will make much more complex ones later!

~Ria

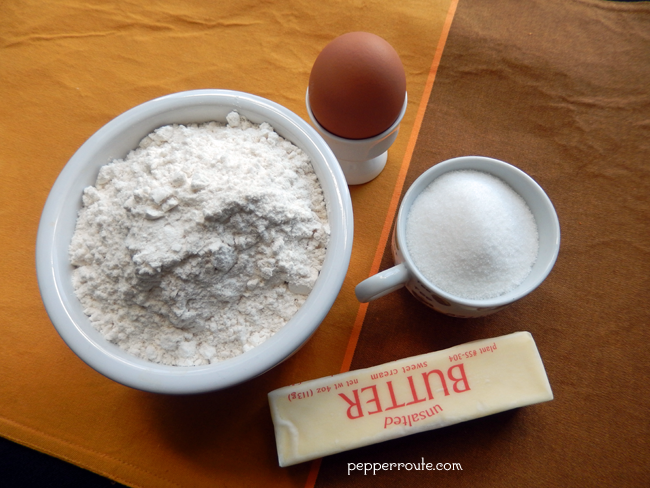
- 3 large potatoes
- 1 carrot
- 2 ribs of celery
- 10 black olives
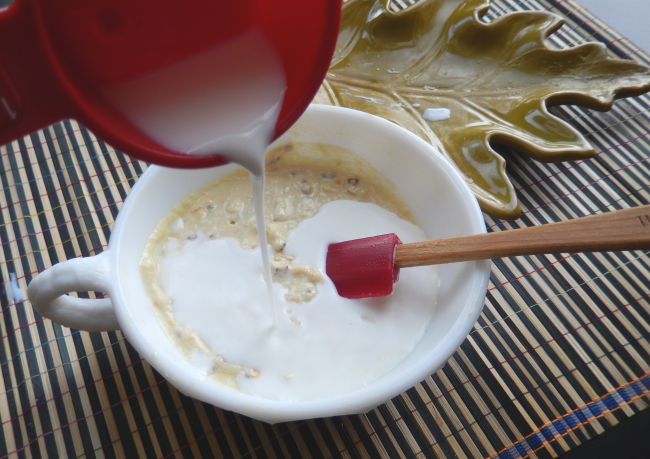
- ⅓ cup heavy cream
- A dash of nutmeg
- 2 eggs
- 2 tbsp butter
- 4 tbsp breadcrumbs
- Salt and pepper to taste
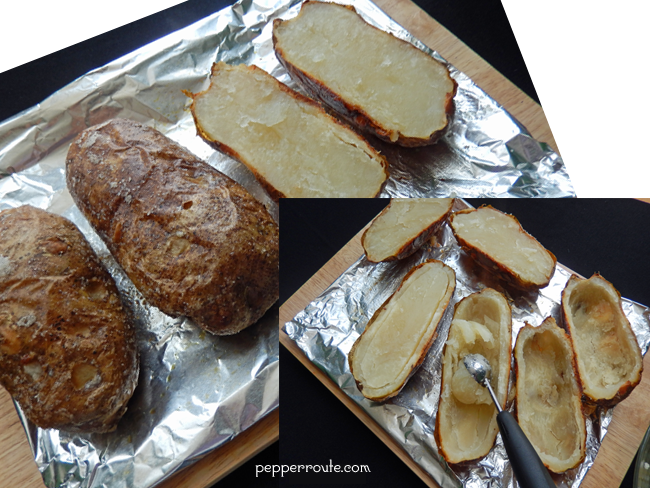
- Bake the potatoes in their skins. When cooled, scoop out the flesh.
- Preheat the oven to 400 degree farenheit.
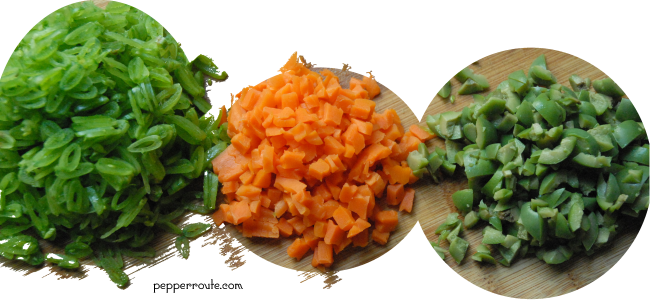
- Shred the carrot.
- Finely chop the celery and olives.
- Separate the eggs and keep the whites aside in the medium bowl that is perfectly dry.
- Mix together the potato flesh, shredded carrot, chopped celery and black olives.
- Add the nutmeg powder, cream and egg yolks and mix well.
- Season with salt and pepper.
- Liberally coat the insides of the baking dish with butter.
- Thickly cover the butter with breadcrumbs.
- Using an electric mixer, beat the egg whites till they stand up in soft peaks.
- Using a flat wooden spatula, gently blend in the beaten egg whites into the potato mix.
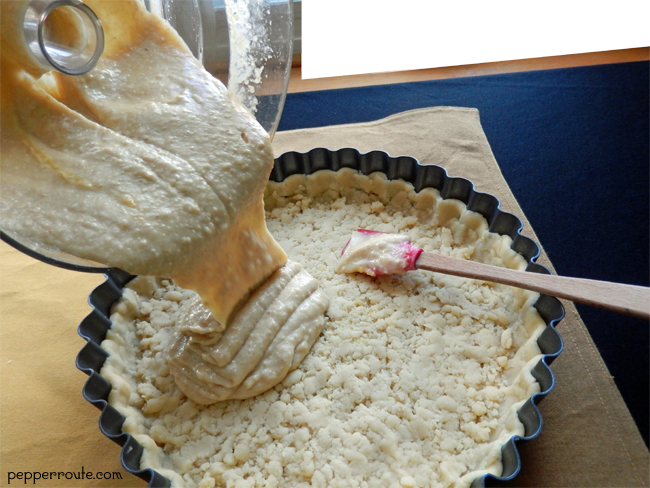
- Transfer the mix into the baking dish.
- Sprinkle any leftover breadcrumbs on top.
- Bake in the preheated oven for 40 to 45 minutes. Do not open the oven door till the soufflé is well-risen and the baking time is up.
- Take out of the oven and serve hot.