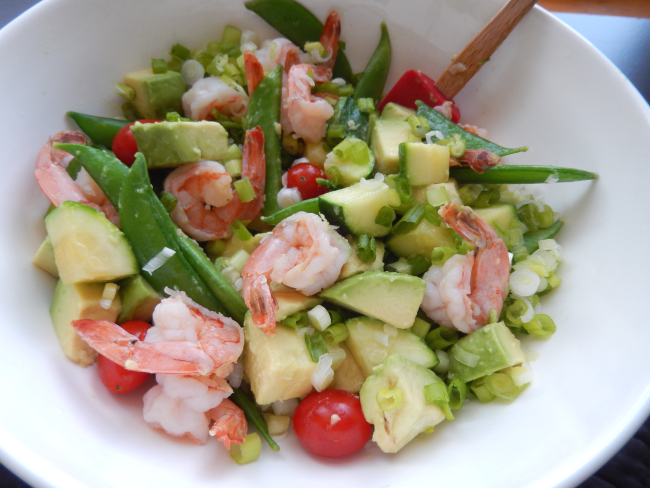
Shrimp and Avocado Salad with Cherry Tomatoes
There is this funny story about how humans first started cooking their meat… how a barn got burned down along with the animals in it and the sad owner burned his finger when he poked a dead (and apparently perfectly cooked) animal… and put the finger in his mouth… and went yummm… but I have not heard a story about how we started eating shrimp. Only thing I can say is, whoever started the trend, he or she must have been a courageous soul! To look at one of those grumpy looking things with all spindly legs and stalk eyed stare and think… “umm… that must taste lovely!” would have taken a truly adventurous mind.
Whoever it was, I’m eternally grateful to that person. For, that indeed tastes lovely! In fact, shrimp is the favourite of a majority of pescetarians.
The name ‘shrimp’ is used to describe a wide variety of species, often synonymously with ‘prawn’, though technically prawns are the larger cousins of shrimp. These days more than half of the shrimp in the commercial market is farmed and rather than caught in the wild.
Shrimp figures prominently in many cuisines like Chinese, Italian and Mexican. And the ways in which it can be prepared are so numerous. Elaborate preparations with complex flavours or simple salads with a basic dressing… shrimp can be the starring presence in any of them!

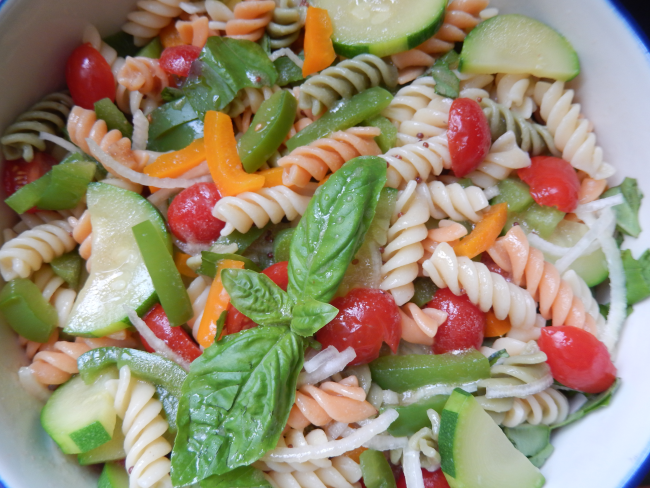
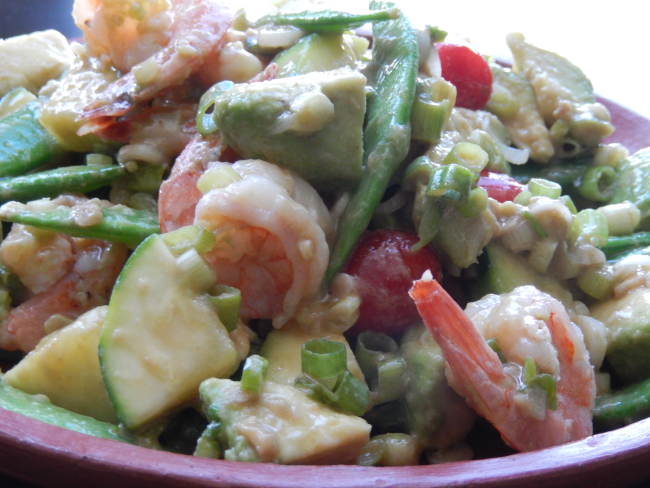
Here I combined the shrimp with avocado in a salad – a winning combination any day – along with some sugar snap peas.

And cherry tomatoes to add some colour, zucchini for a bit of body, and scallions for a mild heat.

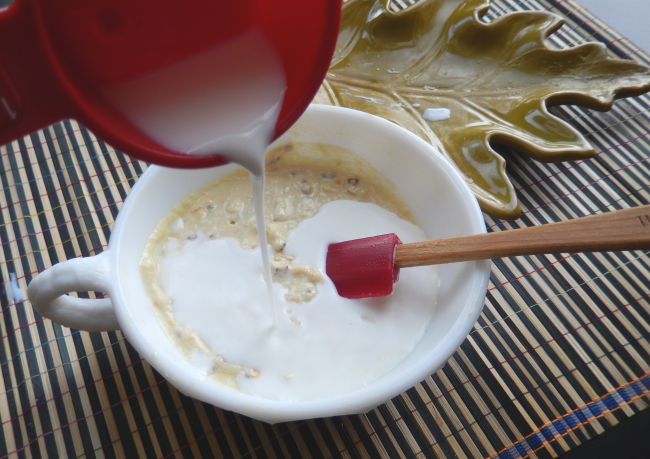
Crushed garlic, dijon mustard, balsamic vinegar and olive oil make up the simple dressing.

Mix together all ingredients except the olive oil and slowly add the olive oil last and mix thoroughly.
It is an easy salad to make… just gently mix together all the prepared ingredients.

You have to be careful though, not to get the avocado pieces mushed by too much mixing.
Last step, just pour the creamy dressing over the mixed salad.

Ready to serve! A hearty salad willing to step in for a lunch any day!
~Ria

- 12 -15 medium shrimp
- 1 medium avocado
- ½ lemon
- 1 cup sugar snap peas
- 1 cup cherry tomatoes
- 1 small zucchini
- 1 bunch scallions
- 2 tsp Dijon mustard
- 2 cloves of garlic
- 1 tbsp balsamic vinegar
- 3 tbsp olive oil
- Salt and pepper to taste
- Prepare the shrimp leaving the tails on.
- In a pan, cook the shrimp, covered, adding two tablespoons of water and a pinch of salt, for 4 to 5 minutes, till all water is evaporated. Keep aside.
- Deseed the avocado and cut into bite size pieces. Squeeze the lemon over the avocado pieces to prevent discolouration.
- Bring a pot of water to boil and add 1 teaspoon of salt. Add the sugar snap peas to the boiling water and cook for three minutes. Drain and place in iced water right away. When thoroughly chilled, drain and keep aside.
- Cut the zucchini into bite size pieces. Place in a microwave safe dish with a pinch of salt, and sprinkle with a little water. Microwave for two minutes.
- Slice the scallions into thin rounds.
- Mix together the crushed garlic, mustard and balsamic vinegar. Slowly drizzle the olive oil and mix thoroughly. Season with salt and pepper.
- In a large bowl, mix together shrimp, pieces of avocado and zucchini, peas and sliced scallions. Add salt and pepper as required.
- Pour the dressing all over the mix and gently stir together.
- Chill in the refrigerator for an hour.
- Ready to serve!