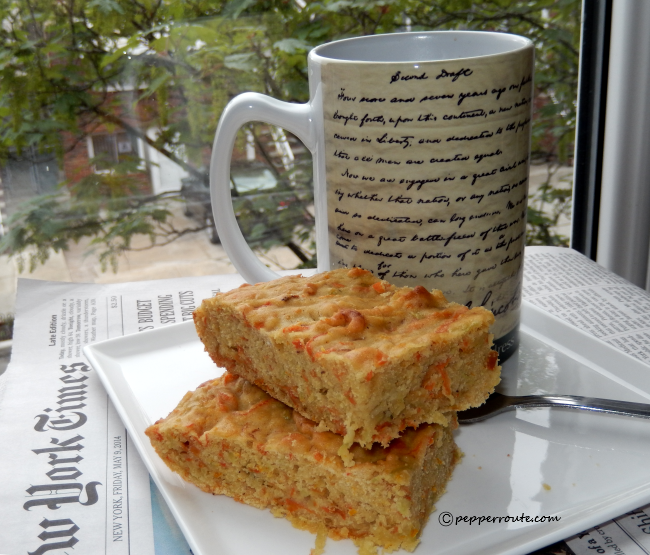
Zucchini Carrot Bread for Breakfast
Recently, I have started going to zumba classes. I mean, how could I not join? The classes are being held in the ground floor party hall of Condoville. That means that I can walk down as-is, literally. And it is being held after work hours. And all my friends are going… Enough reasons, right? And it is very enjoyable, indeed. The trainer An-hel has been in the fitness business for 20+ years and really knows what he is talking about. So when he suggested that I enhance my almost non-existent breakfast to make it a bit more substantial, I considered it an idea worth trying. And so far, it has been going good.
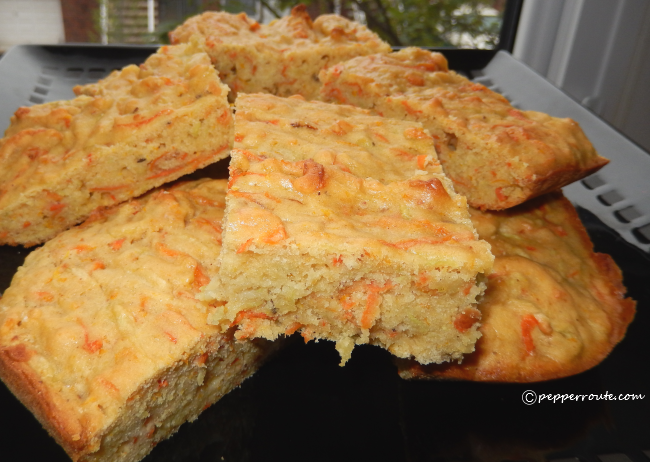
So these days, I’m looking at healthy breakfast options. Not the routine stuff, but something a bit more attractive… which doesn’t take a lot of time in the morning. Going through my recipe files, I came across this breakfast bread… slightly on the sweet side, and choke full of veggies. Seemed like the perfect solution, and when done, the zucchini carrot bread turned out to be exactly that.

This is a basic recipe for a simple cake, made interesting by the addition of grated zucchini and carrots. And flavoured with spices and yes, orange zest, which is my favourite! The good thing about this recipe is that it is very flexible. You can add as much of the veggies as you like to the mix. That is what I did. Added twice the quantity of vegetables when I prepared it. Only, it will add to the denseness of the bread. But for breakfast, I really do like that.

In the recipe, I have provided the standard measurements. If you really want your zucchini carrot bread light and airy, go with those measurements. On the other hand, if you want to make it into a healthy option, don’t be afraid to increase the quantity of the vegetables.

Another flexible part, is the sugar. You can use the quantity provided in the recipe and you will have a fairly sweet bread. But I prefer my breakfast foods just with a touch of sweetness. So I halved the sugar. And believe me, it turned out perfect for breakfast.

And the orange zest… that is exactly what gives this bread that morning quality, that jolt of freshness that gets you ready to face whatever the day brings along. So don’t be stingy with that, I would say.
And finally, I used a flat shallow pan as I did not want too thick slices. The zucchini carrot bread can be baked in a deeper pan if you would prefer thicker slices.
~Ria

- 2 cups all purpose flour
- 1 tsp baking powder
- ¼ tsp baking soda
- ½ tsp salt
- ¼ tsp ground cinnamon
- ¼ tsp ground nutmeg
- ¾ cup grated zucchini
- ¾ cup grated carrots
- 1 ½ tbsp orange zest
- 1 cup sugar
- 2 eggs
- ¼ cup vegetable oil
- ½ cup chopped nuts (optional)
- Preheat the oven to 350 degrees fahrenheit.
- Mix together the dry flour, baking powder, baking soda, salt, cinnamon and nutmeg.
- Beat the eggs and sugar together.
- Add the oil to the mix and beat well.
- Using a flexible spatula, blend in the grated zucchini and carrots, and the zest.
- Add the flour in batches and mix together. Do not overmix.
- Fold in the chopped nuts, if using.
- Transfer the batter to a buttered pan and bake. Baking time will vary depending on the depth of the pan. When a skewer inserted into the middle of the pan comes out clean and dry, the zucchini carrot bread is done.
- Enjoy with a good cup of coffee!